This project only took an afternoon - a few hours, really, not counting picking up materials - making me wish I hadn't put it off for so long under the assumption it would take forever. Like so many other things in my house, such as that bathroom rewiring project, or learning Spanish.
Learn from my mistakes/laziness and, if you have a set of bare wooden stairs of your own, don't wait to get them covered with a runner. It reduces noise by a ton and cuts down on wear to boot.


I'd picked up a roll of carpet remainder for $15 at Home Depot a while back - the color matched what I was thinking of doing upstairs, and the width was less than the width of the stairs. All in all, it was a serendipitous find, but you should be able to locate a strip of carpeting that meets your needs by heading to any floor-covering store. (Yours, for example, may even reach all the way to the bottom of the staircase. I wasn't concerned about that because most of the creaking noise I wanted to muffle came from the top of the stairs, and this is definitely a semi-permanent renovation, much more functional that aesthetic.) A floor coverings store is also a good place to pick up the carpet padding you'll need:

Get the heaviest type they have to muffle the most sound. A good set of shears (I still use a pair made by Chicago Cutlery for this and many other projects) will cut through the padding without much problem.
A note on amounts - the way I did this project, I only put padding on the stair treads, not underneath all the carpet, not even on the risers which some online plans suggest. As a result, I had bought enough carpet padding to go beneath the total square footage of the carpet runner, but wound up using less than half of it. To follow these plans, you're only cutting out rectangles that are roughly the depth of the tread minus one inch and the width of the *carpet* minus two inches. You might consider buying less padding as a result.

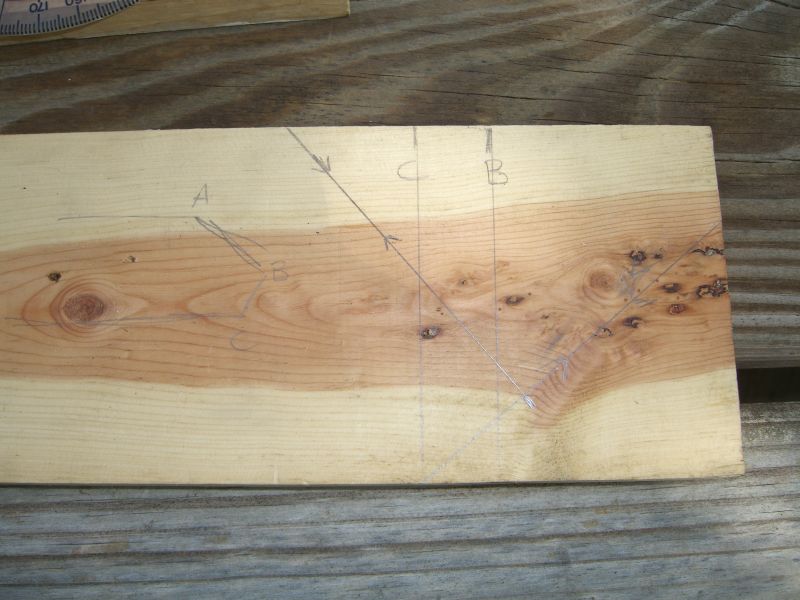
A measuring tape, sharpie, straight edge, and shears are all the s-based tools you should need to cut out the sections of padding.


Cut, place, measure, and remeasure before applying any fasteners. You may have a fun situation like I did where the runner grew wider along its length, almost an inch-and-a-half from one end to the other. You can compensate by cutting a few of the padding rectangles wider to match, or you can not care like I did. Either way, you're simply centering the padding on the tread, 'grid' side up:


Next came the part where I learned why most online guides to carpeting stairs encourage you to have some specialized tools, like knee kickers and stair tools. This project is far from impossible to complete without them, but it likely would have gone much quicker with them. It also might have gone faster with a partner, but the wrong pair could just as easily get in each other's way. Again, I did this myself with just a hammer and tacks, and it's holding up fine.


Start at the very top stair, back of the tread. Line the carpet up as squarely as appropriate so the runner doesn't veer to the side down the stairs - you're going to wind up straddling the runner a little awkwardly, especially at first, but once you have the first riser's worth nailed down it gets a lot easier to manage. I started with just a nail in each back corner to hold things in place while I double checked that everything was positioned the way I wanted, then sank several more at the back of that first riser. From here on out, I followed a simple two-part formula:
1) Work small, work tight. Pull, push, smooth, and hold (with your free hand) each section of carpet on which you are working, generally about a riser and a tread's worth at a time. Look ahead and behind to make sure you're not bunching the carpet, and once you're set, hammer it down:
2) Work from one side of the stair to the other. This will help with the above. I wound up with a nailing pattern very similar to my stapling pattern, generally with one fewer nail across and one more nail along the depth.
Lather, rinse, repeat, repeat, repeat, and if then get out the utility knife and/or shears to trim the very bottom.

One other note - keep all the nails to the edges of the carpet. The padding should already be affixed to the stairs, so worry about keeping the carpet from moving - and avoiding any partially sunk nails in areas where feet are more likely to fall.